
What is the Best Polymer Clay for Beginners?

Have you tried Polymer Clay yet? It has been an all time favorite of mine for as long as I can remember. Sculpey is a staple in my art room and in my classroom and there are so many reasons why!
What is the best polymer clay?
In short, Sculpey clay is the best clay on the clay market. Sculpey clay is a relaxing and rewarding hobby and great for so many fun crafts. When I teach clay in my classes, I always tell my students that Sculpey clay lasts forever and that I still have some blocks of clay dating back to high school (I am in my mid-40’s).
It is easy to use for crafters of all skill levels and I truly believe this should be a staple in any home with older kids – is never dries out, colors mix easily, not too messy and you can make tons of beautiful projects.
Sculpey clay is a polymer oven-bake clay that can be used for home decor. The big difference between Sculpey and air dry clay is that Sculpey is a higher quality product, is baked in a home oven, comes in liquid Sculpey form and solid form and comes in a variety of colors.
Getting Started with Polymer Clay
WHAT SUPPLIES ARE NEEDED TO WORK WITH SCULPEY:
Affiliate Disclaimer: I do, at times, receive a small commission from products linked on my blog.
Acrylic Roller: This rolling pin is used for polymer clay because the clay does not stick to the roller and can be easily cleaned.
Bead Baking Rack: This rack is a wonderful way to bake beads without having them touch the bottom of the pan.
Chalk Pastels: These are used to add color and shading to your clay designs. Simply scrape the chalk to make a powder and you are on your way to adding vibrant colors.
Clay: Your box includes 1lb of white clay and an assortment of clay colors to get you started with making your very own polymer clay creations.
Clay Leveling Guides: These make the rolling process simple and will assist you with rolling clay to a uniform thickness.
There are two thickness options: The 4mm level is used to roll out your first slab. The 3mm level is used to roll out the slab once you have a completed design.
The 3mm slab is most used for making jewelry while the 4mm is best for miniatures and small cakes.
Clay Slicer: This is used to slice clay and cut chalk. For a clean slice every time, we highly recommend purchasing a tissue blade or box cutter for more mature students (not recommended for children and should be used with caution; use at your own risk).
Shape Cutters: Used for making perfect shapes using the Sculpey Clay.
Dotting tools: These are used to add texture and small details to your work
Extruder: The extruder takes the clay and pushes it through a tube. With different inserts, you can form the clay into elongated shapes.
Findings: Jump rings, stud earrings and eye pins to make jewelry and attach loops to miniatures.
Liquid Sculpey: Consider this the “glue” of polymer clay. Adding a small amount between two parts will act as a glue when baked. You can also add scrapings of chalk pastel to your liquid Sculpey and change the color.
Liquid Sculpey is great for adding frosting to miniature cakes.
Clay Mat: This is a surface to work on to protect your table. Personally, I prefer using a ceramic tile.
Paint Brush: Use the paint brush to add powdered chalk to your creations. Chalk can be mixed directly on your clay mat and wiped clean using a baby wipe.
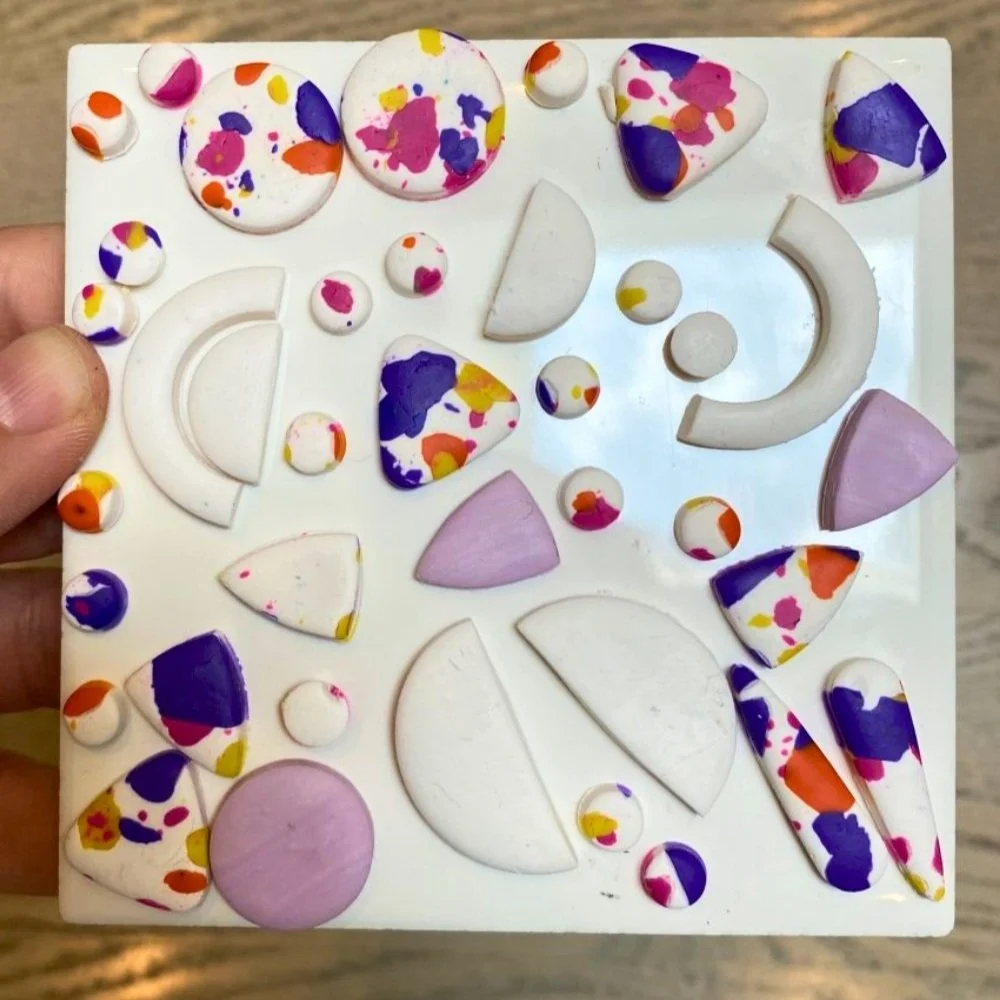
Sculpey polymer clay shapes
What do you need to start out using SCULPEY Clay? We’ve put together a guide for the most necessary items to help you make something great!
DOES POLYMER CLAY DRY OUT?
Sculpey is a polymer clay (there are several different brands, but sculpey is the easiest to work with). Polymer clay products were originally invented by a doll maker who wanted to create dolls that were not as breakable as some of the porcelain dolls on the market at that time.
Today, Sculpey is used in animation studios to create claymation in movies and shows. Some other known brands are Fimo and Kato, but there are many other great brands, too! Polymer clay does not dry out or harden completely until it is cooked.
You can re-work polymer clay as many times as you want and the consistency will not change until it is baked. It can be baked in a regular oven, no special kiln or equipment needed.
When we teach polymer clay workshops, we tell everyone that a little bit goes a long way. Polymer clay is not typically used to create large scale sculptures because it is expensive.
It is great to use for miniatures, small sculptures, beads and small trinket dishes. Save your scraps for the inside of beads and for other projects.
HOW TO STORE POLYMER CLAY
Polymer clay comes wrapped in a special plastic original packaging. We have found it doesn’t react well with some household plastic and acrylic and sometimes eats away or melts the plastic container.
I know it isn’t pretty, but I mostly store my clay in aluminum foil or ziplock bags. Once they’re in aluminum foil, they’re good for life. Do not store them in tupperwear.
CONDITIONING THE CLAY
You will need to play with the clay for a few minutes. This is called “conditioning the clay” and it stops the clay from crumbling. It activates the polymers in the clay and gets it ready to sculpt.
You do not want to play with it for too long (especially if your hands are very warm) because then it gets too soft and it is hard to get fine details in your work. You can always fix this issue by popping it into the freezer for a few minutes.
HOW TO CLEAN SCULPEY TOOLS AND SURFACES
It is best to have a package of baby wipes or alcohol wipes on hand to thoroughly clean your polymer clay tools between colors. Do not use tissues or paper towels since they tend to leave small fibers and dust in the clay.
HOW DO I STORE MY POLYMER CLAY WHEN I AM NOT USING IT?
Polymer clay comes wrapped in a special plastic. We have found it doesn’t react well with some household plastic and acrylic and sometimes eats away or melts the plastic container.
I know it isn’t pretty, but I mostly store my clay in aluminum foil or Ziplock bags. Once they’re in aluminum foil, they’re good for life. Do not store them in tupperwear.
WHAT ARE SOME EASY PROJECTS TO START WITH?
BEGINNER SCULPEY PROJECTS:
MINIATURES:
Use your imagination – the possibilities are endless!
Some ideas to get you started: snail, turtle, donut, monster, cake. *Just be sure you don’t make any parts too skinny or they can break off later
Carefully bake on a piece of parchment paper at 225-275 degrees depending on how strong your oven is. Bake for 15-20 minutes.
Let cool completely
BEADS:
Choose colors and make them into a small ball. Make them any size you want your beads to be.
Take small pieces of different colors and add them onto the ball – be creative
Roll into a ball until they are smooth
Use a skewer to make a hole
Carefully bake on a piece of parchment paper at 225-275 degrees depending on how strong your oven is. Bake for 15-20 minutes.
Let cool completely
MARBLED PENS:
Start by removing the ink cartridge from the pen – be sure to ONLY use Bic Round Tip pens.
Choose your clay colors and make them each into a ball. Make them around the size of a gumball
Roll out the ball to make into a snake. Do this to all of the colors
Twist them all together
Make them into a snail shape.
Roll the snail into a ball
Using the acrylic roller, roll out the clay so that it is about ¼” thick
Place the pen onto the clay and roll until the pen is covered (be sure not to cover the hole where the ink will go)
Smooth and add any optional surface details
Carefully bake on a piece of parchment paper at 250-275 degrees depending on how strong your oven is. Bake for 15-20 minutes.
Let cool completely
Choose colors and make them into a ball. Make them around the size of a gumball
Roll out the ball to make into a snake. Do this to all of the colors
Twist them all together
Make them into a snail shape.
Roll the snail into a ball
Using the acrylic roller, roll out the clay so that it is about ¼” thick
Use a cup to cut out the round shape
Carefully bake on a piece of parchment paper at 250-275 degrees depending on how strong your oven is. Bake for 15-20 minutes.
Let cool completely
Use a paint color of your choice to paint the edges
Baking Clay
Each brand of polymer clay comes with polymer clay baking directions. We have found in our ovens that 225 degrees is the best temperature because the clay never burns.
Most people like to bake their clay at 250-275 degrees, but that has never worked for me. Start out on a lower temperature for your first run and adjust as necessary.
Since every oven is different, you can start off by using the directions on the package of clay and then adjust as you get more into the clay making. I typically bake my clay for at least 20-35 minutes.
Burnt polymer clay smells awful so better to start with a lower temperature! It takes about 24 hours for the clay to continue to harden once you remove it from the oven.
You can make a test chip before baking your projects. After baking the clay, and cooling for 24 hours you can try to bend it. If it breaks upon bending, it wasn’t baked long enough.
If it slightly bends, it is good to go! We typically do a test piece when purchasing new brands or new ovens.
CAN I BAKE THE CLAY IN MY HOME OVEN?
The answer is yes! You do not need a polymer clay oven. If you end up using polymer clay a lot, you might want to invest in an oven just for the clay.
WHAT SURFACE DO I USE TO BAKE MY CLAY?
Bake your clay on a ceramic tile, parchment paper, aluminum foil or a baking pan. You can also loosely put a piece of foil over the beads or sculptures to protect them from direct heat.
WHAT SURFACE DO I USE TO BAKE MY CLAY?
Bake your clay on a ceramic tile, parchment paper, aluminum foil or a baking pan. You can also loosely put a piece of foil over the beads or sculptures to protect them from direct heat.
CAN SCULPEY BE BAKED IN A HOME OVEN?
The answer is yes! Sculpey can be baked in a home oven. However, if you start using Sculpey regularly, it might be a good idea to purchase a small oven only for clay.
What is the difference between Sculpey Clay, Super Sculpey iii and original Sculpey?
There are several different types of Sculpey and each one is good for different ability levels. Sculpey iii is soft and easier for children to use. It does not require as much conditioning.
Original Sculpey is soft and easy to use, but not as easy as Sculpey iii. Both come in a wide range of colors.
Sculpey Premo is for experienced clay artists. It isn’t as soft, but hold details much better than the others.
All three types of Sculpey can be painted with acrylic paints or chalk pastels before or after baking.
WHAT OTHER THINGS CAN I MAKE WITH POLYMER CLAY?
There are many things you can make with Sculpey clay.
Charms
Home décor
Jewelry
Want more craft tips? Check out this post.