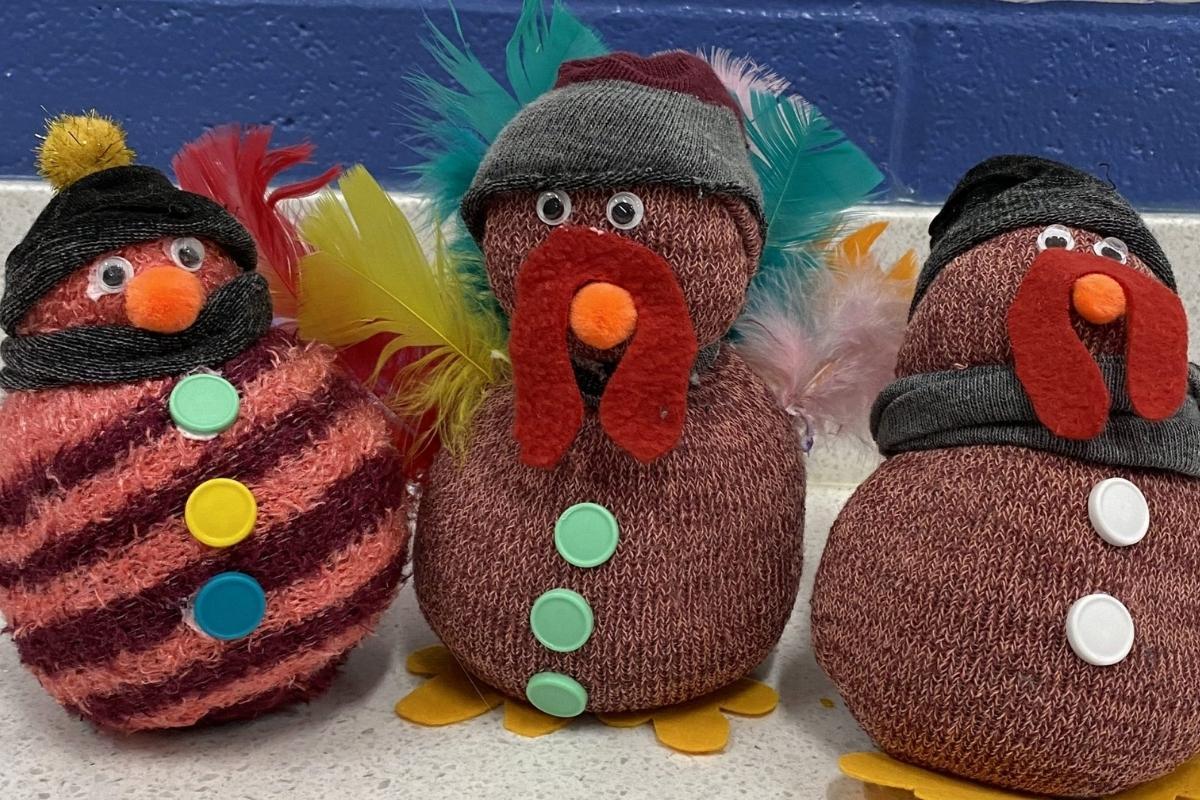
It’s turkey time! That also means that it’s time for some fun craft ideas. And yes, you guessed it…turkey socks are on the menu for this amazing day! If you love making crafts for each holiday, you are in luck! These no-sew turkeys make for a beautiful table centerpiece at dinner. The best part? NO SEW! That is correct…you can make this sock animal with zero sewing skills.
Do you love a fun and easy craft to do together on Thanksgiving? Look no further than our DIY sock turkeys. Make one sock turkey or turn it into a family of turkeys. Last year, one of my student’s grandmother told me she still uses her grand daughter’s sock turkey every year on Thanksgiving! As a teacher, this warms my heart!
What supplies are needed to make a Sock Turkey?
Sock (I prefer fuzzy socks or earth tone colored socks, but you can totally use funny socks if you prefer)
Rubber Band
Feathers
2-3 cups rice
Rubberband
Buttons
Cotton balls
White foam adhesive
Now that you have all of your supplies, let’s start making this amazing sock turkey craft!
How do you make a sock turkey?
First you will want to fill a cup with rice. In my experience, using a standard drinking cup works better than a measuring cup. You will see why in step 2. It also doesn’t matter what kind of rice you use – they all come out great!
Place the sock over the cup. Make sure it fits snug so that the rice doesn’t fall out. Turn the cup upside down and shake until all of the rice in the cup is inside the sock. Placing the sock on top of the cup is a great way to minimize the mess. You can thank me later! Take a look at your turkey and decide if you need more rice. If not, tie a knot at the top. If you are making this craft with kids, you might need to help them with this step.
If you are sure the knot is secure, cut off the extra sock fabric, You do not need the extra material as it will just add unnecessary bulk.
Squeeze the spot where you want the neck to go. In order to separate the turkey head from the turkey body, you will need to add a rubber band where you want the head to go. In my experience, the rubber bands used on hair work great and are easy for kids to use.
Next, add eyes and eyelids. You can use regular white glue, except it is hard for kids to be patient. You might want to stick with either tacky glue or use a hot glue gun.
Next, add a pom pom nose. If you prefer to make the nose using pipe cleaners, you can totally give that a try.
Cut red felt into a rainbow shape and add below the nose to make a waddle. Draw and cut feet from the yellow felt and glue to the bottom of the turkey.
Dip feathers in glue and push through the sock until they feel secure. For this step, I highly recommend using tacky glue. Hot glue will be challenging since time is not on your side. Continue until you are happy with the way it looks. I like the nice shape of my little guy and I can’t wait to see what you create!
And…that is it! Gobble Gobble!
Side note: You can totally make modifications to this plan. Feel free to cut construction paper if you do not have felt. If you want to add buttons or clothing to the turkey’s body, go ahead! The best plan is when each and every turkey is unique. This method can be used to make just about any sock animals. My personal favorite? Sock snowmen!
Affiliate disclaimer: I do occasionally make a small commission from products purchased via amazon associate affiliate links.
Love this post and want more fun animal crafts? Check out this post.