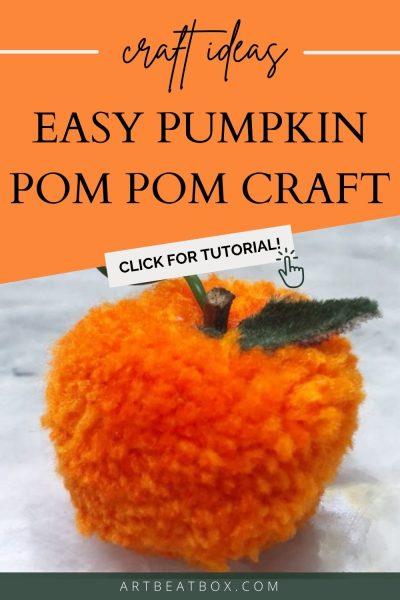
Have you ever seen pom pom pumpkins? If not, you are in for a major treat! Last year I made different sizes of pom poms with my middle school craft students. Adding the pumpkin stems was the key to success for this DIY project. To make a pom-pom pumpkin, you will need some basic craft supplies. Once you’ve made a bunch, experiment with pom-pom Fall garland or Halloween decor. Full disclosure, you will need a healthy dose of patience – this one is not for little hands! Fine motor skills are an absolute must. Now let’s get started!
DIY Pom-Pom Pumpkin Supplies
Pom pom maker set (if you want a variety of sizes)
How do you make a pumpkin yarn pom pom?
Start by opening up the pom-pom maker. Wrap the orange yarn around and around the half circle until the entire side is covered. It should be thick enough that you can easily cut, but not so thick that the side doesn’t close. How many times you wrap the yarn depends entirely on the type of yarn you plan to use. Close the side and repeat on the other side.
Once you have wrapped the yarn on both sides, begin cutting through the yarn, The best way to do this is to use the sharpest scissors you can find. If the scissors aren’t sharp enough, cutting through the yarn might prove to be frustrating.
Take a piece of yarn around 12″ long and tie it into the area you have recently cut. With kids who struggle to tie, you can also use a long twist tie or a pipe cleaner. Pull hard so that the yarn doesn’t come loose. I like to tie the pumpkin at least two times to make sure it is extra secure.
Once you’ve tied the pumpkin, you can begin removing the pom pom maker. Pull both sides apart to reveal the pumpkin. In my experience, pumpkins come out really well if you trim them all the way around. I try to trim more on the top and bottom to resemble a real pumpkin.
Next, draw some leaf shapes on a piece of felt. My recommendation would be to cut the leaves into a variety of sizes – leaves are never the same size. Using either E6000 or a hot glue gun, attach the leaves to the top of the pumpkin. In the center of the pom pom, add some twig stems. I used a real twig from outside, but you can use a twist tie or anything that might look realistic. You can also use a green pipe cleaner. Pipe cleaners are most easily cut using a wire cutter. Be creative!
And that’s it, you now have a beautiful yarn pom pom pumpkin. If you want to make a pom pom pumpkin garland, simply tie long pieces of yarn between each pumpkin, I find that kids typically struggle to make enough pom pom pumpkins to complete the garland. Instead, have them make a many as they can to form a beautiful pumpkin patch!
If making garland isn’t your jam, make the little pumpkins into fall decor and glue on name cards for Thanksgiving. This will be a great addition to your holiday table!

Now that you know how to make pumpkin pom poms, try using the smallest Clover pom pom maker to make itty-bitty pumpkins. If you want to skip making the actual pumpkin, feel free to head to Michael’s or Hobby Lobby and simply purchase some large orange pom poms. Then add the leaves and stem. You will incur an extra cost, but it should be just as fun!
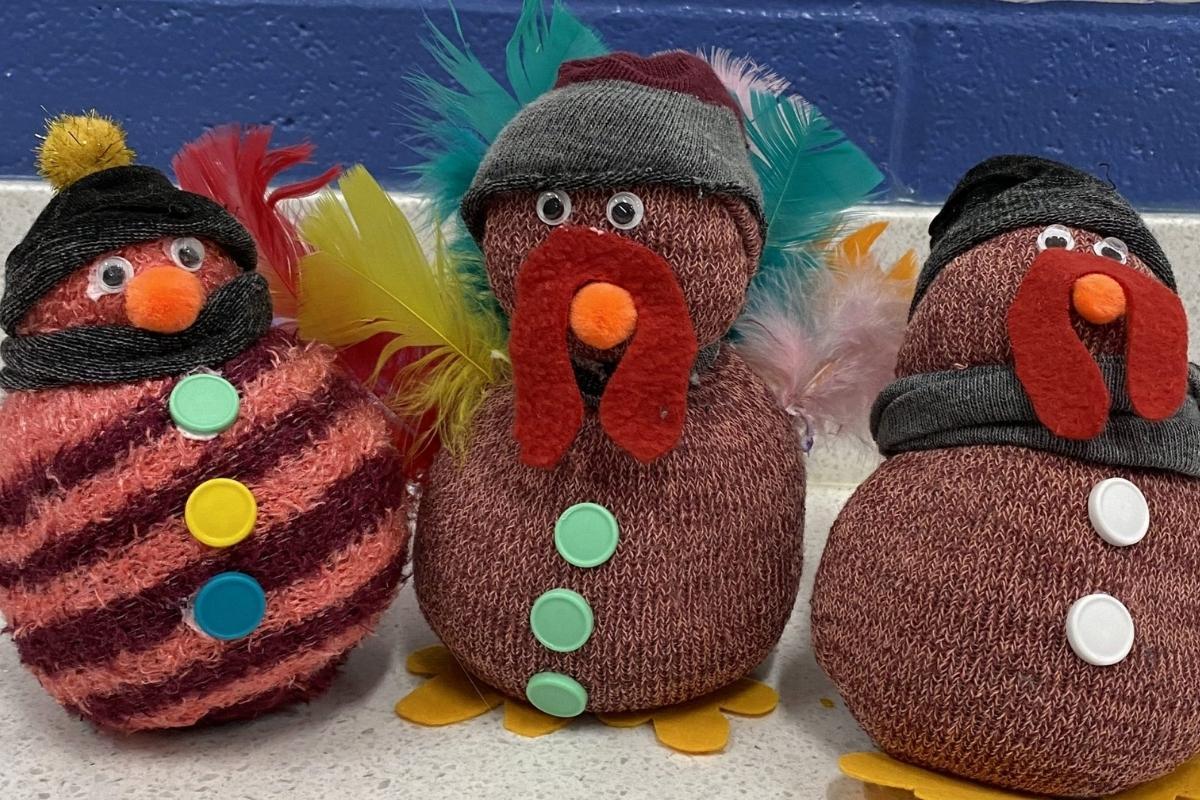
Want more yarn crafts? Check out this tutorial on making pom pom puppies! Want more Fall decor projects? Check out this awesome tutorial on making a no sew sock turkey!
Affiliate disclosure: I do occasionally make a small commission from products purchased via affiliate links.

