You’ve probably seen Decoden phone cases all over social media and today you’re going to learn how to make them on your own! There are so many different ways to create a decoden phone case, but I thought it would be more fun to use the decoden art process to create some personalized wall art!
Ok, so I am sure you’re wondering what to make using the Decoden method. While there are unlimited ideas to create decoden, it all comes down to personal preference. Here are some ideas:
- Hair clips
- Phone cases
- Ipad Cases
- Notebooks
- Wall letters
In the world of crafting, there’s a delightful art form that allows enthusiasts to transform ordinary objects into whimsical and extravagant masterpieces. This art form is called decoden, a term derived from “decorate denwa” in Japanese. With its origins in Japan, decoden has captured the hearts of crafters worldwide, offering endless opportunities for creativity and self-expression. In this article, we’ll take a deep dive into the world of decoden, exploring the basic techniques and materials needed to create stunning decoden creations.

Decoden is a crafting technique that involves decorating various items, such as phone cases, jewelry boxes, and even desserts, with an array of colorful and embellished decorations. At the heart of decoden lies the concept of “frosting,” where a whipped cream-like substance or silicone glue is applied to the surface of the object to create a textured base for decorations.
Materials Needed:Before diving into your decoden project, it’s essential to gather the necessary materials.

Here’s what you’ll need to make your own DIY Decoden art
Affiliate disclaimer: Although I stand by all of the products I use, I can receive a small commission from any products purchased via my affiliate links.
- Base Item: Choose an item to decorate, such as a phone case, jewelry box, or compact mirror. In my class we used wall letters.
- Whipped Cream or Silicone Glue: This will serve as the “frosting” for your decoden creation. You can either purchase pre-made whipped cream or whip silicone glue until it reaches a light and fluffy consistency. Mod Podge also makes a product called Mod Podge Collage Clay which works great! Do NOT use polymer clay – from my experience it doesn’t work because it never hardens and you can’t bake decoden. However, daiso clay or air dry clay could work, but be sure to experiment first! Michaels also has an incredible product that works really well. Whichever one you choose, definitely do a spot check first and work on a small section with just a little bit of cream to be sure it can hold the charms. Finally, try heading to the hardware store and picking up a tub of light weight spackle. From my personal experience, this works just as well as the more expensive craft store items.
- Decorations: Get creative with an assortment of decorations, including rhinestones, pearls, beads, miniature charms, and cute cabochons. I also purchased polymer clay fruit slices which the kids loved. You can use googly eyes or whatever tiny toy parts you have on hand. Beads work great, too!
- Piping Bag or Spatula: These tools will help you apply the whipped cream or silicone glue onto your base item.
- Decorating tip: Use a star tip or just an ordinary decorating tip. Be sure to watch a video tutorial on how to use a piping bag before starting the whole thing – you do not want the cream to dry out while you’re learning.
- Tweezers or Toothpicks: Use these tools to place small decorations accurately.
*I love ordering supplies on Amazon because there are tons of selection results, free shipping (typically ships within a few business days) and it’s never final sale so if you change your mind, you can send the supplies back. Check out my favorite items on my Amazon storefront. You’ll find a full page of all of my favorite things!
Step-by-Step guide to making Decoden art
Now that you have your materials ready, let’s dive into the best part! Let’s take a look at the step-by-step process of making decoden creations:
Step 1: Prepare the Base Item
Start by cleaning the surface of your chosen base item to ensure it’s free from any dust or debris. If you’re decorating a phone case, be sure to remove the cell phones before proceeding. You can use a baby wipe or rubbing alcohol to clean the item.
Step 2: Whip the Cream or Silicone Glue
If you’re using pre-made whipped cream, you can skip this step. However, if you’re making your own whipped cream using silicone glue, whip it until it reaches a light and fluffy consistency. Be sure not to over-whip the glue, as it may become too stiff to spread. Add acrylic paint if you have certain colors you’d prefer. The first time I made a decoden item, I used vanilla white. Since then I’ve experimented with colors.
Step 3: Apply the “Frosting”Using a piping bag or spatula, apply the whipped cream or silicone glue onto the surface of your base item. You can cover the entire surface or focus on specific areas, depending on your design preferences. Ensure the layer of frosting is thick enough to hold the decorations securely.
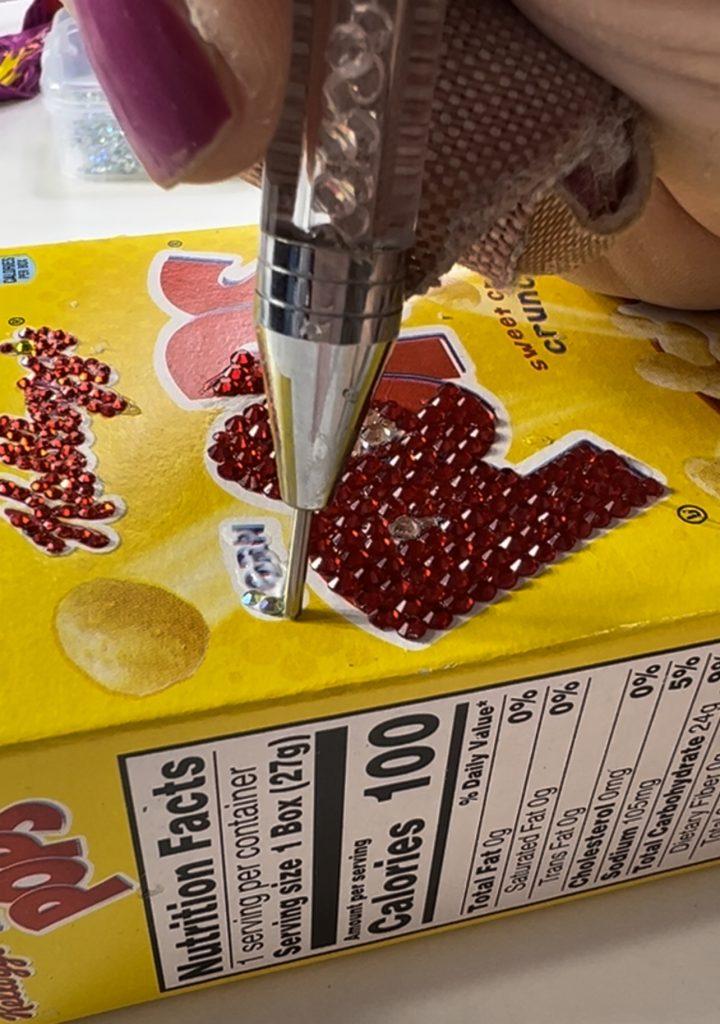
Step 4: DecorateThis is where your creativity shines! Start adding your decorations onto the whipped cream or silicone glue before it dries. Use tweezers or toothpicks to carefully place each decoration, creating a visually appealing design. Experiment with different arrangements and combinations until you’re satisfied with the result.

Step 5: Let It DryAllow your decoden creation to dry completely before handling it or putting it to use. This typically takes several hours, depending on the type of whipped cream or silicone glue used. Avoid disturbing the decorations while they’re drying to ensure they set properly.
Step 6: Optional Finishing TouchesOnce your decoden creation is dry, you can add optional finishing touches to enhance its appearance. Consider applying a clear sealant over the decorations to protect them and keep them in place. Additionally, you can add extra embellishments like glitter or sequins for added sparkle.
Step 7: Enjoy Your MasterpieceOnce all the steps are complete, step back and admire your beautiful decoden creation! Whether it’s a personalized phone case, a dazzling jewelry box, or a delightful dessert, your decoden masterpiece is sure to bring joy and admiration to all who see it.

Decoden is more than just a crafting technique; it’s a form of self-expression that allows enthusiasts to turn everyday objects into works of art. With its endless possibilities for creativity and customization, decoden offers a fun and rewarding outlet for crafters of all skill levels. So gather your materials, unleash your imagination, and embark on your decoden journey today!
While I am not the ultimate authority on making an ipad decoden case or cell phone case, I’ve created several new products in my classes using decoden and the kids think this project is so much fun! A lot of people have asked to make deco den more than one time – which is rare for kids! They love it!
And by the way…so do I! If you love making fake foods, check out my post on making miniature fake apples!


