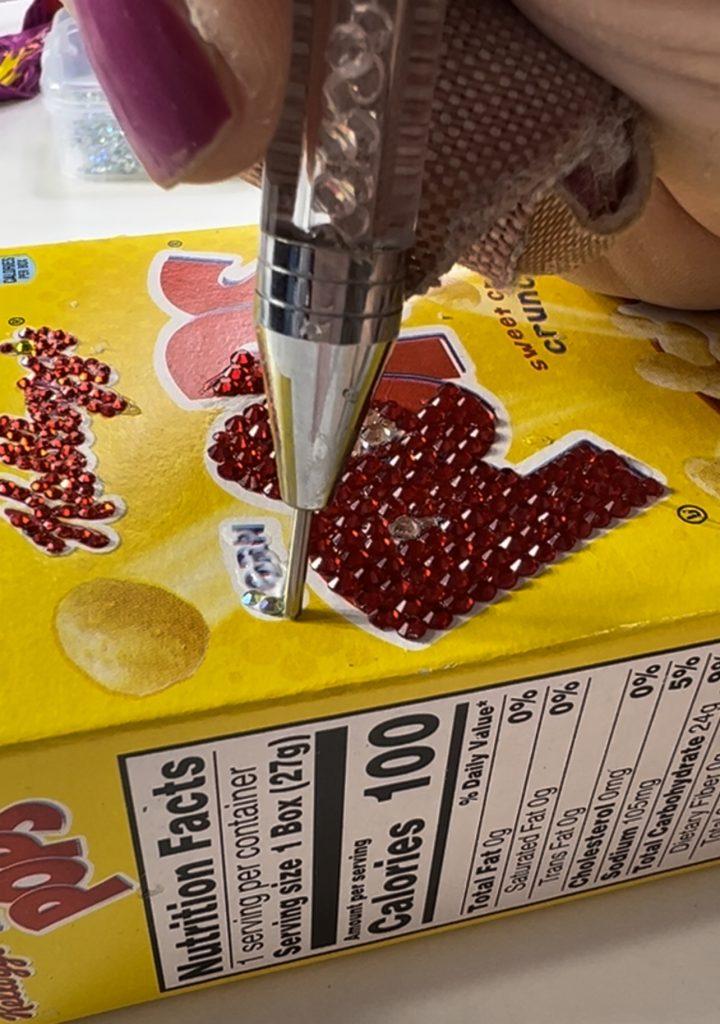
Learning how to clean the Glowforge Aura is important for maintaining its performance and longevity. Owning a Glowforge Aura brings the joy of creating intricate designs and turning ideas into reality. However, like any tool, regular maintenance is crucial to ensure its longevity and optimal performance. Cleaning your Glowforge Aura might seem like a daunting task, but fear not! With the right approach and a bit of know-how, you can keep your Aura in pristine condition, ready to tackle your next project with ease. You will know when the right time is to clean the machine – typically it doesn’t cut as well.
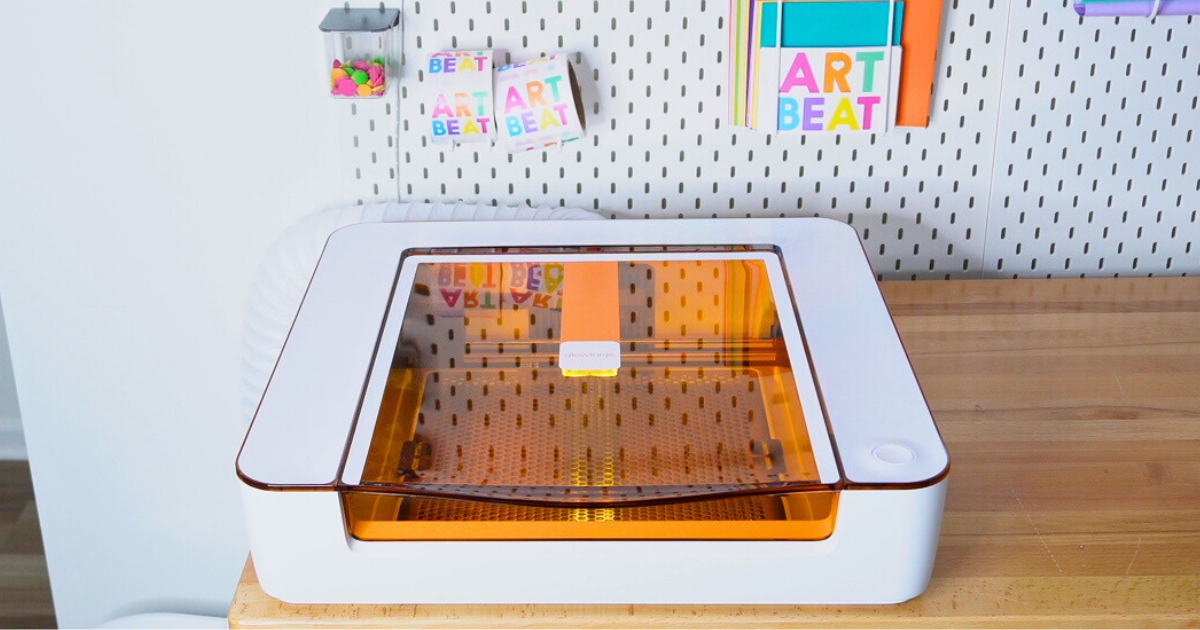
Before diving into the cleaning process, it’s essential to familiarize yourself with the components of your Glowforge Aura. The Aura consists of various parts, including the laser tube, lenses, mirrors, and the interior of the machine. Each component plays a vital role in ensuring precise cutting and engraving, making it imperative to keep them clean and well-maintained.

To begin the Glowforge Aura cleaning process, gather the following supplies:
- Lens Wipe: Ideal for cleaning the laser head and lens
- Microfiber cloth: Ideal for gently wiping away dust and debris without scratching sensitive surfaces.
- Isopropyl alcohol: Effective for removing stubborn stains and residues from lenses and mirrors. Glowforge recommends using 90% or higher.
- Compressed air canister: Perfect for blowing away dust from hard-to-reach areas.
- Cotton swabs: Useful for detailed cleaning of intricate components.
- Shop vac vacuum to remove any stuck or stubborn pieces
- Distilled water: Recommended for cleaning lenses and mirrors to avoid leaving mineral deposits.
Start by unplugging your Glowforge Aura and allowing it to cool down completely. Once cooled, use a shop vac or blower to remove any dust or debris. The less you physically touch the machine, the better. You can also gently use a dry microfiber cloth to wipe down the exterior surfaces of the machine, removing any dust or fingerprints. For stubborn stains, lightly dampen the cloth with isopropyl alcohol, ensuring not to saturate the surface.
Cleaning the Interior of the Glowforge Aura:
Next, open the lid of your Glowforge Aura and inspect the interior for any debris or residue. Use a compressed air canister to blow away dust from the internal components, including the laser tube and ventilation system. Be gentle to avoid dislodging any sensitive parts or causing damage.
Cleaning the Lenses and Mirrors of the Glowforge Aura
The lenses and mirrors of your Glowforge Aura are crucial for directing the laser beam accurately. Over time, they can accumulate dust and residue, impacting the quality of your prints.
I wasn’t sure the best way to clean this part so I called Glowforge to find out. They recommend only using lens wipes for these parts as to not damage the lens or laser.
To clean them:
- Remove the lens and mirror housings carefully, following the instructions provided in your Glowforge Aura manual.
- Using a cotton swab moistened with isopropyl alcohol, gently wipe the surfaces of the lenses and mirrors to remove any dirt or smudges.
- Once clean, rinse the components with distilled water to remove any remaining alcohol residue.
- Allow the lenses and mirrors to air dry completely before reassembling them back into the machine.
- Do not use compressed air!
Cleaning the fan of the Glowforge Aura
I reached out to Glowforge support to find out the best way to clean the fan. They recommended using a Q-tip and rubbing alcohol and to be extremely gentle and careful. Several people have attempted to clean the fan and have moved things out of place. It is imperative to be very careful. Try using a shop vac or a strong vacuum to remove any stuck pieces that aren’t easily removed. In my experience, it is only necessary to clean the top of the fan. Do not wipe inside.
Cleaning your Glowforge Aura should be a regular part of your maintenance routine to ensure consistent performance. Here are some additional tips to keep your Aura running smoothly:
- Avoid using abrasive cleaners or rough materials that could scratch or damage delicate surfaces.
- Store your Glowforge Aura in a clean and dust-free environment when not in use to minimize the accumulation of debris.
- Keep the ventilation system clear of obstructions to maintain proper airflow and prevent overheating.
- Regularly check for software updates and firmware upgrades to ensure your Glowforge Aura is operating with the latest features and improvements.
Conclusion:A well-maintained Glowforge Aura is the key to unlocking endless creative possibilities. By following these simple cleaning tips and incorporating regular maintenance into your routine, you can keep your Aura in top condition for years to come. So roll up your sleeves, grab your cleaning supplies, and let your creativity shine with a sparkling clean Glowforge Aura!
- Power Off and Unplug: Before starting any cleaning, make sure your Glowforge Aura is powered off and unplugged from the power source. This prevents any accidents or damage.
- Remove Debris: Use a soft, dry cloth or a small brush to gently remove any dust, debris, or residue from the exterior of the Glowforge Aura. Pay special attention to vents and openings where dust can accumulate.
- Clean the Lens: The lens inside the Glowforge Aura can accumulate dust or residue over time, affecting print quality. Use a lens cleaning solution specifically designed for optical lenses. Apply a small amount of the solution to a lens cleaning wipe or a microfiber cloth, and gently wipe the lens in a circular motion. Be careful not to scratch the lens.
- Clean the Tray and Crumb Tray: Remove the tray and crumb tray from the Glowforge Aura. Clean them with soap and water, and dry thoroughly before placing them back into the machine. Make sure there are no crumbs or debris left on these parts.
- Check the Air Assist Fan: The air assist fan helps to keep the lens and material clean during printing. Check the fan for any dust buildup and carefully remove it using a small brush or compressed air if necessary.
- Inspect and Clean the Exhaust System: Check the exhaust system for any debris or obstructions. Clean the exhaust fan and ducting if needed to ensure proper ventilation.
- Clean the Printer Bed: If there are any residue or marks on the printer bed, you can clean it with a damp cloth. Make sure to dry it thoroughly before using the Glowforge Aura again.
- Reassemble and Test: Once everything is clean and dry, reassemble the Glowforge Aura and plug it back in. Perform a test print to ensure everything is working correctly.
- Regular Maintenance: Make cleaning your Glowforge Aura a regular part of your maintenance routine to keep it in top condition.
- Clean the back where to wire connection is – that can also get clogged
- Separate the black connector at the back of the laser head. Pull back on the connect it and be sure to unplug it before cleaning.
Do’s and Don’ts for cleaning the Glowforge Aura
- Do not use canned air – it is too forceful and can damage the machine
- Use the rubbing alcohol in small doses – be sure not to get anything wet!
- Unplug the Glowforge before cleaning
- Clean after each use
In my experience, you are better off staying on top of the issue rather than waiting for a problem. Clean, clean and clean some more! Need help setting up your brand new Glowforge? Check out this tutorial.
Always refer to the manufacturer’s guidelines and recommendations for cleaning and maintenance specific to your Glowforge Aura model.