
6 Bleach Tie Dye Patterns For Reverse Tie Dye

6 Bleach Tie Dye Patterns For Reverse Tie Dye
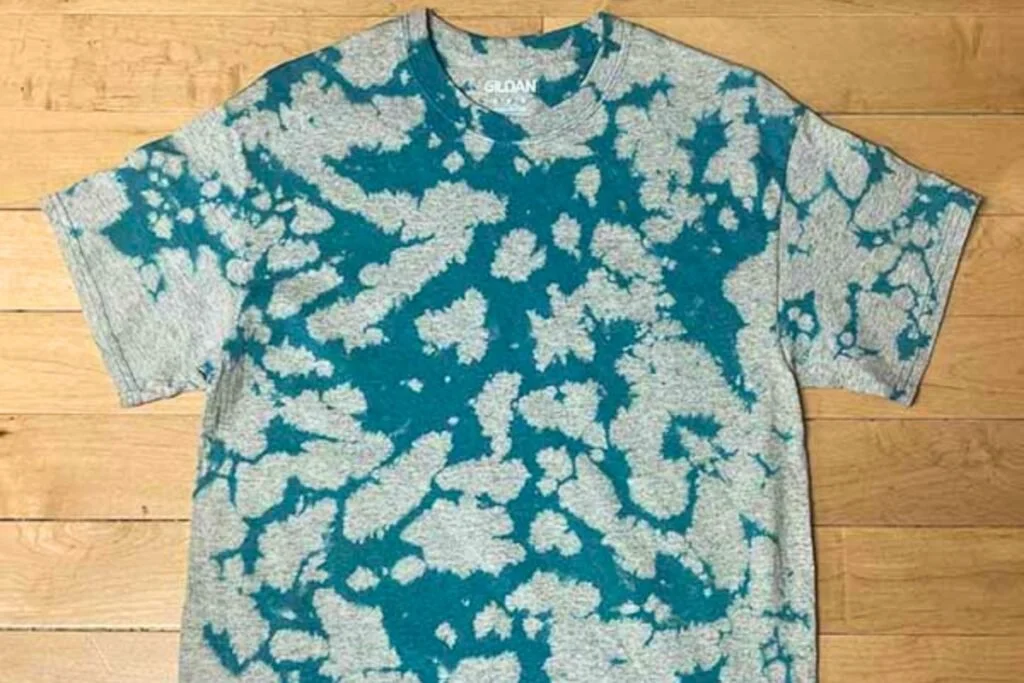
If you've got a pile of old dark shirts and a bottle of bleach, you're already most of the way there! Bleach tie dye, also called reverse tie dye, is one of the most satisfying upcycling crafts I've tried because you're removing color instead of adding it, and the results on black cotton are genuinely stunning.
In this post, I'm walking you through 6 beginner-friendly bleach tie dye patterns, what supplies you actually need, and the one ratio mistake that ruins most first attempts.

Bleach tie dye Patterns vs reverse tie dye
In traditional tie dye, fabric is dyed with colorful dyes to create vibrant patterns. Bleach tie-dyeing, on the other hand, involves using bleach to remove or lighten the color of fabric, resulting in a lighter or white design on a darker background.
Reverse tie dye takes this process a step further by adding colored dye after the bleaching process. Reverse tie-dying allows you to create colored patterns on darker shirts. Each tie dye method creates different effects, so it's really up to personal preference which one you use.
What types of fabrics are best for bleach dyeing?
For best results, you want to use a shirt or fabric that's made of natural fibers.100% cotton t-shirt is the best, but it's okay to use cotton blends as long as it's at least 50% cotton.
If you get more than 50% synthetic material, the dye won't hold as well. For reverse tie-dye, I prefer to use a black shirt, but you can use bleach to tie dye different colors.
Should the shirt be wet or dry for bleach tie dye?
Start with a dry shirt. Unlike traditional tie dye where you dampen the fabric first, dry fabric allows the bleach solution to absorb without extra dilution. This gives you crisper, more defined patterns.
If you want a softer, more blended look, slightly damp fabric will give you that effect, but the pattern lines will be less defined.
Where can I find fabrics for bleach dyeing?
The best place to find fabrics for bleach dyeing is in your closet! Pull out some of your old clothes and upcycle them with unique designs.
If you want to purchase fabric specifically for bleach tie dyeing, you can usually find dyeable fabrics at your local craft store. Amazon or Walmart are also great places to find natural fabrics for tie dyeing.
What you'll need for bleach tie dyeing
Affiliate disclaimer: Although I stand by all of the products I use, I can receive a small commission from any products purchased via my affiliate links.
Household Bleach
Water
Spray Bottle or Squirt Bottle
Protective Gear (Gloves, Old Clothes, Safety Goggles, Mask)
Fabric Items
Work Surface (Plastic Tablecloth, Kitchen Sink)
Plastic Bucket or Tub
Cups of Water
Rubber Bands
Bleach Pen (Optional)
I love ordering supplies on Amazon because there are tons of selection results, free shipping (typically ships within a few business days) and it’s never final sale so if you change your mind, you can send the supplies back.
Check out my favorite items on my Amazon storefront. You’ll find a full page of all of my favorite things!
Steps to bleach tie dyeing
Prepare Your Work Area: Set up your work area on a flat, stable surface that's easy to clean. It's a good idea to cover the surface with a plastic tablecloth or work in a well-ventilated area like a kitchen sink.
Prepare Your Fabric: Start with a clean, dry fabric item made from natural fibers like cotton or linen. You can use a new shirt or repurpose an old one for a fun upcycling project.
Create Your Design: Use rubber bands, zip ties, or other materials to tie sections of the fabric in desired patterns. (See 6 methods below)
For reverse tie dye, consider leaving some areas untied or loosely tied to create negative space in your design.
Mix Your Bleach Solution: In a well-ventilated area, mix a solution of one part bleach and one part water in a plastic tub.
The ratio of bleach to water will depend on the desired effect and the strength of your bleach. Start with a 1:1 ratio and adjust as needed.
Apply the Bleach: Put on gloves and old clothes to protect your skin and clothing from the bleach and water solution. Use a spray bottle or squirt bottle to apply the bleach mixture to the tied fabric, focusing on the areas you want to lighten or remove color.
You can also dip the entire shirt in a bucket of the bleach solution if you want to remove the color from everywhere except where the rubber bands are placed.
Monitor the Process: Keep an eye on the fabric as it reacts to the bleach during the bleaching process. The color change may happen quickly or gradually, depending on factors like the fabric type and bleach concentration.
Rinse the fabric with water when you achieve the desired level of lightening.
Neutralize and Wash: After rinsing, soak the fabric in a mixture of water and vinegar to neutralize the bleach.
Then, wash the fabric in a washing machine with cold water and a mild detergent to remove any remaining bleach and prevent further bleaching.
Dry and Enjoy: Once washed, dry the fabric according to the care instructions. Admire your reverse tie dye creation and wear it with pride!
Bleach is a strong chemical. Remember to work in a well ventilated area, wear gloves, and follow safety precautions when working with bleach.
5 Different Patterns for Bleach Tie Dyeing
While the bleach dyeing method is slightly different from traditional tie-dye technique, the different folding techniques are the same. You can achieve unique tie-dye patterns by folding and tying dark-colored shirts in different ways.
Just remember that the bleached area is where color will be removed, not added. Here are six of the most popular bleach tie dye patterns.
1. Spiral Pattern from Tie Dye and Teal
The spiral tie dye pattern is the most common tie dye technique. The classic spiral design achieves the perfect look for tie dye shirts!

2. Crumple Pattern from Tie Dye and Teal
The crumple pattern is a great folding technique for a beginner as there's really no wrong way to do it! This tie dye technique would look fantastic on a black sweatshirt.
3. Sunburst Pattern from AB Crafty
While the traditional sunburst pattern usually shows off vibrant colors, this tie dye technique is a unique way to upcycle clothes with dark colors too!

4. Striped Pattern from AB Crafty
The striped bleach tie dye pattern is an easy way to turn an old tank top into your new favorite top!

5. Shibori-Inspired Folding Pattern from Sarah Maker
This technique involves folding the fabric accordion-style in a straight line to achieve a grid pattern.

6. Shibori-Inspired Pole Wrapping Pattern from Instructables
This cool technique involves wrapping folded fabric around a pole with string to achieve a lined tie dye design.

I love how all of these unique patterns achieve different looks with bleach dyeing than they do with traditional tie dye. The best part about bleach tie dyeing is that any traditional tie dye folding technique can be used!
If you don't have access to colorful dyes or a shirt, you can still make tie-dye shirts using old fabric and bleach.
FAQs about bleach tie dyeing
What is the best bleach solution for tie dyeing?
It's best not to use straight bleach. For optimal results, mix one part household bleach with one part water.This creates a diluted bleach solution that is safer to use and helps prevent damage to fabric. Any brand of household bleach will work!
Can I use bleach tie dyeing on colored fabrics other than white?
Bleach tie dyeing is primarily effective on dark-colored fabrics, as it removes or lightens the existing color to create unique designs.However, it's essential to test the bleach solution on an inconspicuous area first to ensure the desired results.
What is reverse tie dye, and how does it differ from traditional tie dyeing?
Reverse tie dye involves using bleach to remove or lighten the color of fabric, creating unique designs and patterns by selectively removing color.This differs from traditional tie dyeing, where fabric is dyed with colorful dyes to create vibrant patterns.
Is bleach tie dyeing a good idea for dark-colored shirts?
Bleach tie dyeing is an excellent option for dark-colored shirts, as it creates a striking contrast by removing or lightening the color of the fabric.However, it's essential to test the bleach solution on an inconspicuous area first to ensure the desired results.
What are some unique designs I can create with bleach tie dyeing?
With bleach tie dyeing, you can experiment with various folding techniques, such as spirals, straight lines, or sunburst patterns, to create unique designs on fabric.Additionally, using bleach pens or squeeze bottles allows for more precise application and intricate details in your designs.
How long should I leave the bleach solution on the fabric for vibrant colors?
The duration of time the bleach solution should remain on the fabric depends on the desired effect and the fabric's color.Generally, leaving the bleach solution on for 5-20 minutes yields vibrant colors, but it's essential to monitor the process closely to prevent over-bleaching.
Remember to wear gloves and work in a well-ventilated area during the bleaching process.
Are you itching to round up some old clothes and try these bleach tie dye techniques? They're such a fun way to refresh your wardrobe for the summer!
Want to learn more about traditional tie dye techniques? Check out this post on 20 tie dye patterns for kids!