
The Best Paint For Plaster Art Sculpture (2025)

I am frequently asked about the best method for painting a plaster sculpture. In this post, I will share the various methods for painting uncoated plaster.
We will explore the best way to paint bare plaster as well as the type of paint to use and the right sealant for a plaster sculpture.

Plaster sculpture of my hands
Preparing the plaster for paint
The first thing to do before painting any type of plaster is to remove all fine particles of dust and dirt from the piece. Your plaster casts often have lots of fine lint and dust that might not even be seen by the naked eye.
As a result, to achieve the best results it’s a good idea to be sure the plaster is completely dry and ready for pigment.
2 methods + 2 philosophies for painting high quality plaster
When you are trying to determine how to paint your work of art there are two options for plaster painting. One technique highlights the plaster and the other covers the plaster. Hide or show? This really comes down to your personal preference. One thing’s for sure – be sure that you do not have wet plaster.
1. Stain and seal method
This method is not opaque. In other words, there is a transparent quality to the finished plaster statue. The coverage will not be completely consistent, but will look more like a natural stone that takes the integrity of the plaster into consideration.
This technique highlights the textural qualities of the piece. The fine details like lumps, bumps, and texture are highlighted, not hidden.
With this method, the sculpture bounces light.
What is needed:
Affiliate disclaimer: Although I stand by all of the products I use, I can receive a small commission from any products purchased via my affiliate links.
Plaster sculpture (hand casts or foot casts are a good starting point) or plaster (comes in a powder form and is a common casting medium)
Clean rag, heavy paper towel, t-shirt, or old washcloth or a damp cloth
Shoe polish brush
Water
Thick paint brush
Jar
Apron or smock is recommended
*I love ordering supplies on Amazon because there are tons of selection results, free shipping (typically ships within a few business days) and it’s never final sale so if you change your mind, you can send the supplies back.
Check out my favorite items on my Amazon storefront. You’ll find a full page of all of my favorite things!
Instructions:
Fill a jar w ¼ cup water
Add small quantities of acrylic opaque paint until you get the desired results for the paint color you have chosen.
Mix well. (should be very runny)
Now for the most exciting part. Begin brushing the watery mixture on the entire piece as a primer coat. A lot of the paint will soak in and dry because plaster has a porous surface.
If you want excellent coverage, let the base coat dry (dry times might vary) and add a second coat. Start with your initial coats and then see how it looks.
Over time you will get used to which you consider to be the best paint to use on this somewhat rigid structure.Brush upwards so the paint back drips into what you’ve already painted. Let the piece dry completely for at least an hour
Using paste wax with a chip brush start feathering the wax onto the surface. Keep adding wax to the sculpture making sure you brush and dab so every crevice is covered.
Some pigment might come off if the paint isn’t thoroughly dry.Be sure to hit all crevices and cover the entire sculpture with wax
Wait at least 24 hours and then buff the sculpture. If the wax is still sticky or oily, it isn’t dry enough and you should wait a bit longer.
Use a clean rag to begin buffing the surface of the sculpture using light pressure in a circular motion. Buffing adds a shine to the sculpture and can at times pull off some of the pigment which will highlight the plaster
Polish wax with a shoe polish brush to get a slight sheen. Hit all spots several times, but start with a small area.
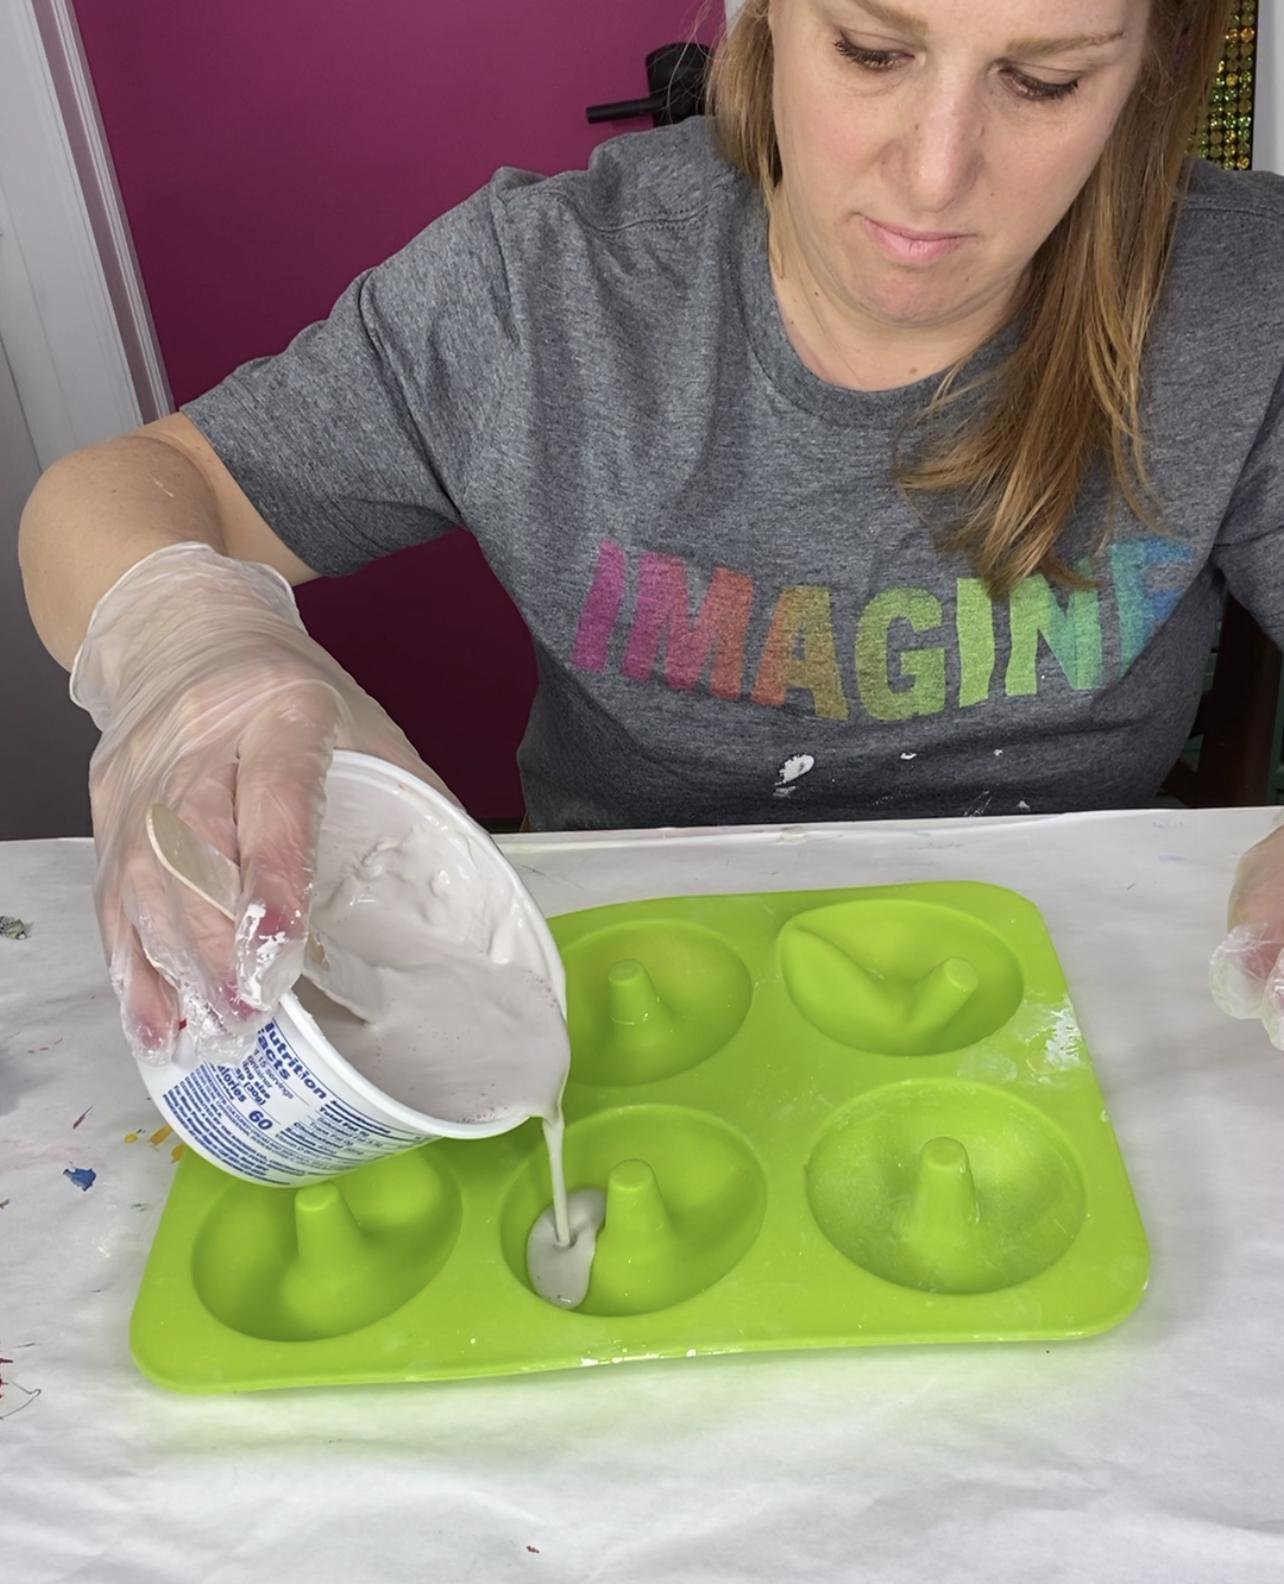
Pouring plaster donuts
2. Seal and paint application technique
This technique hides plaster completely under a layer of paint and serves as a plaster sealer.
This is an especially smart option if you want the porous material of the plaster to be covered and have a smooth surface.
With this method, it is hard to tell what material the sculpture is made of.
What is needed to paint a plaster sculpture:
Shellac
Plaster or plaster sculpture (plaster is sold in 25-pound bag at hardware stores)
Gloves
Brush
Apron
Denatured alcohol (needed to clean shellac from the brush)
Plaster Paint
Instructions:
The first step is to clean the workspace and sculpture of all dirt and dust. Any remaining particles will stick to the sculpture and be there forever.
This is especially prevalent if you have gone over your sculpture with a fine-grit sandpaper. Powdered plaster can be messy.Add shellac using a brush for easy application.
Shellac will harden into a durable shell and completely seal the surface.
Polyurethane and varnish could work as a protective coating, but you will lose a lot of detail because they’re thicker.
Shellac is liquid and adds just a thin coat.
Shellac can be sticky so wear gloves. Do not expect a slick mixture.
After the first coat let the shellac dry, then add a second coat. It dries quickly, under an hour.
Now for the fun part. Apply a thin coat of paint. Be sure to use opaque acrylic paint (do not dilute). If you're using more than one color, use painter's tape to make the process a bit easier.
You want opaque coverage much like if you were painting the interior walls of a house (you might remember what it was like as a child to paint plaster of paris statue for birthday party activities!
More about painting plaster sculptures
Once you use your plaster molds to make your craft projects, it might make sense to test out a small amount of paint on a hidden area (like the bottom) to see which method you prefer.
It really doesn’t make a difference if you use the highest quality plaster or good-quality molds because the goal is to see which kind of paint you prefer (make sure you're not using old paint - you want a great product so you can determine which you like the best)..
The popular pick among more professional artists is the stain and seal method.
One common question asked when discussing plaster is…can you use spray paint? The answer is, yes!
You can use spray paint on plaster sculpture, but you will want to use the shellac method to achieve the best results.
When you go to the paint store, be sure to ask if the spray can consists of water-based paints or oil-based paints. You’ll want to choose oil-based primers and paints for this.
While spray painting plaster isn’t the most common method, it does work. I would also steer clear of certain paint mixtures like latex paints (even if it is acrylic latex paint)
or paints that have additives like a variety of mediums.
After making several plaster original sculptures (perhaps a plaster cast of your foot or hand), you’ll have a clear picture of what works and you will have a good feel of the process to know what is best for you!
If you love making 3D art, check out this blog post on making goldfish soap in a bag!
If you’re still interested in working with plaster, but you do not want to do your own casting, check out this post.
If you’re looking for an easy craft, check out the disco ball cactus jewelry holder craft.
Happy Crafting!