
How to Make a Taco Piñata DIY for Cinco de Mayo
How to Make a Taco Piñata DIY for Cinco de Mayo
Looking for something to spice up your Cinco de Mayo celebration or planning a birthday party for a taco-lover? Easily add some festive fun to your next event with this easy DIY taco pinata tutorial! Whether you make a giant DIY pinata or a mini taco piñata, it's sure to add a kick to any fiesta party or taco Tuesday. And the best part? It's super simple to make and so much fun to use - this mini pinata is a crowd pleaser for kids and adults!
Supplies to Make a DIY Taco Pinata
- 2 half circles of cardboard. The ones I used are ___ inches long. Cereal boxes work great for this!
- Strip of corrugated cardboard
- Glue Sticks
- Assorted pieces of brown, red, green, and white crepe paper or tissue paper (for toppings)
- String
- Masking Tape
- Scissors
- Candy (optional)
- Black and white paper for the eyes and mouth, or googley eyes (optional)
How to Make a DIY Taco Pinata Step-by-Step
1. Take one half circle piece of cardboard and lay it down on a table and take the corrugated piece of cardboard and tape it flush next to the flat part of the half circle. Use 9-10 pieces of tape to attach and be sure that the two pieces are held together. Stop taping when you are about 3” from the top—this will leave room for candy.

2. Lift the half circle up so that it is perpendicular to the corrugated cardboard. Little by little, begin taping the corrugated piece of cardboard all the way around the half circle. Tape from the inside. Once you do the first few it gets much easier. As you tape, keep the semi-circle and corrugated cardboard strip as tight as possible to prevent any gaps.

3. Once you have gone all the way around with the corrugated piece of cardboard cardboard, trim any extra.
4. Tape along the edges of the outside to firmly hold the taco together. Be sure to make it strong.

5. To make the taco shells 3D, add the other semi-circle piece of cardboard by laying it on top of the existing structure and apply tape to the edges of where the semi-circle meets the corrugated cardboard.
If the semi-circle falls through, you will need to add more tape to tighten the structure. Once it is fully taped on, the piñata form will have a nice taco shape.
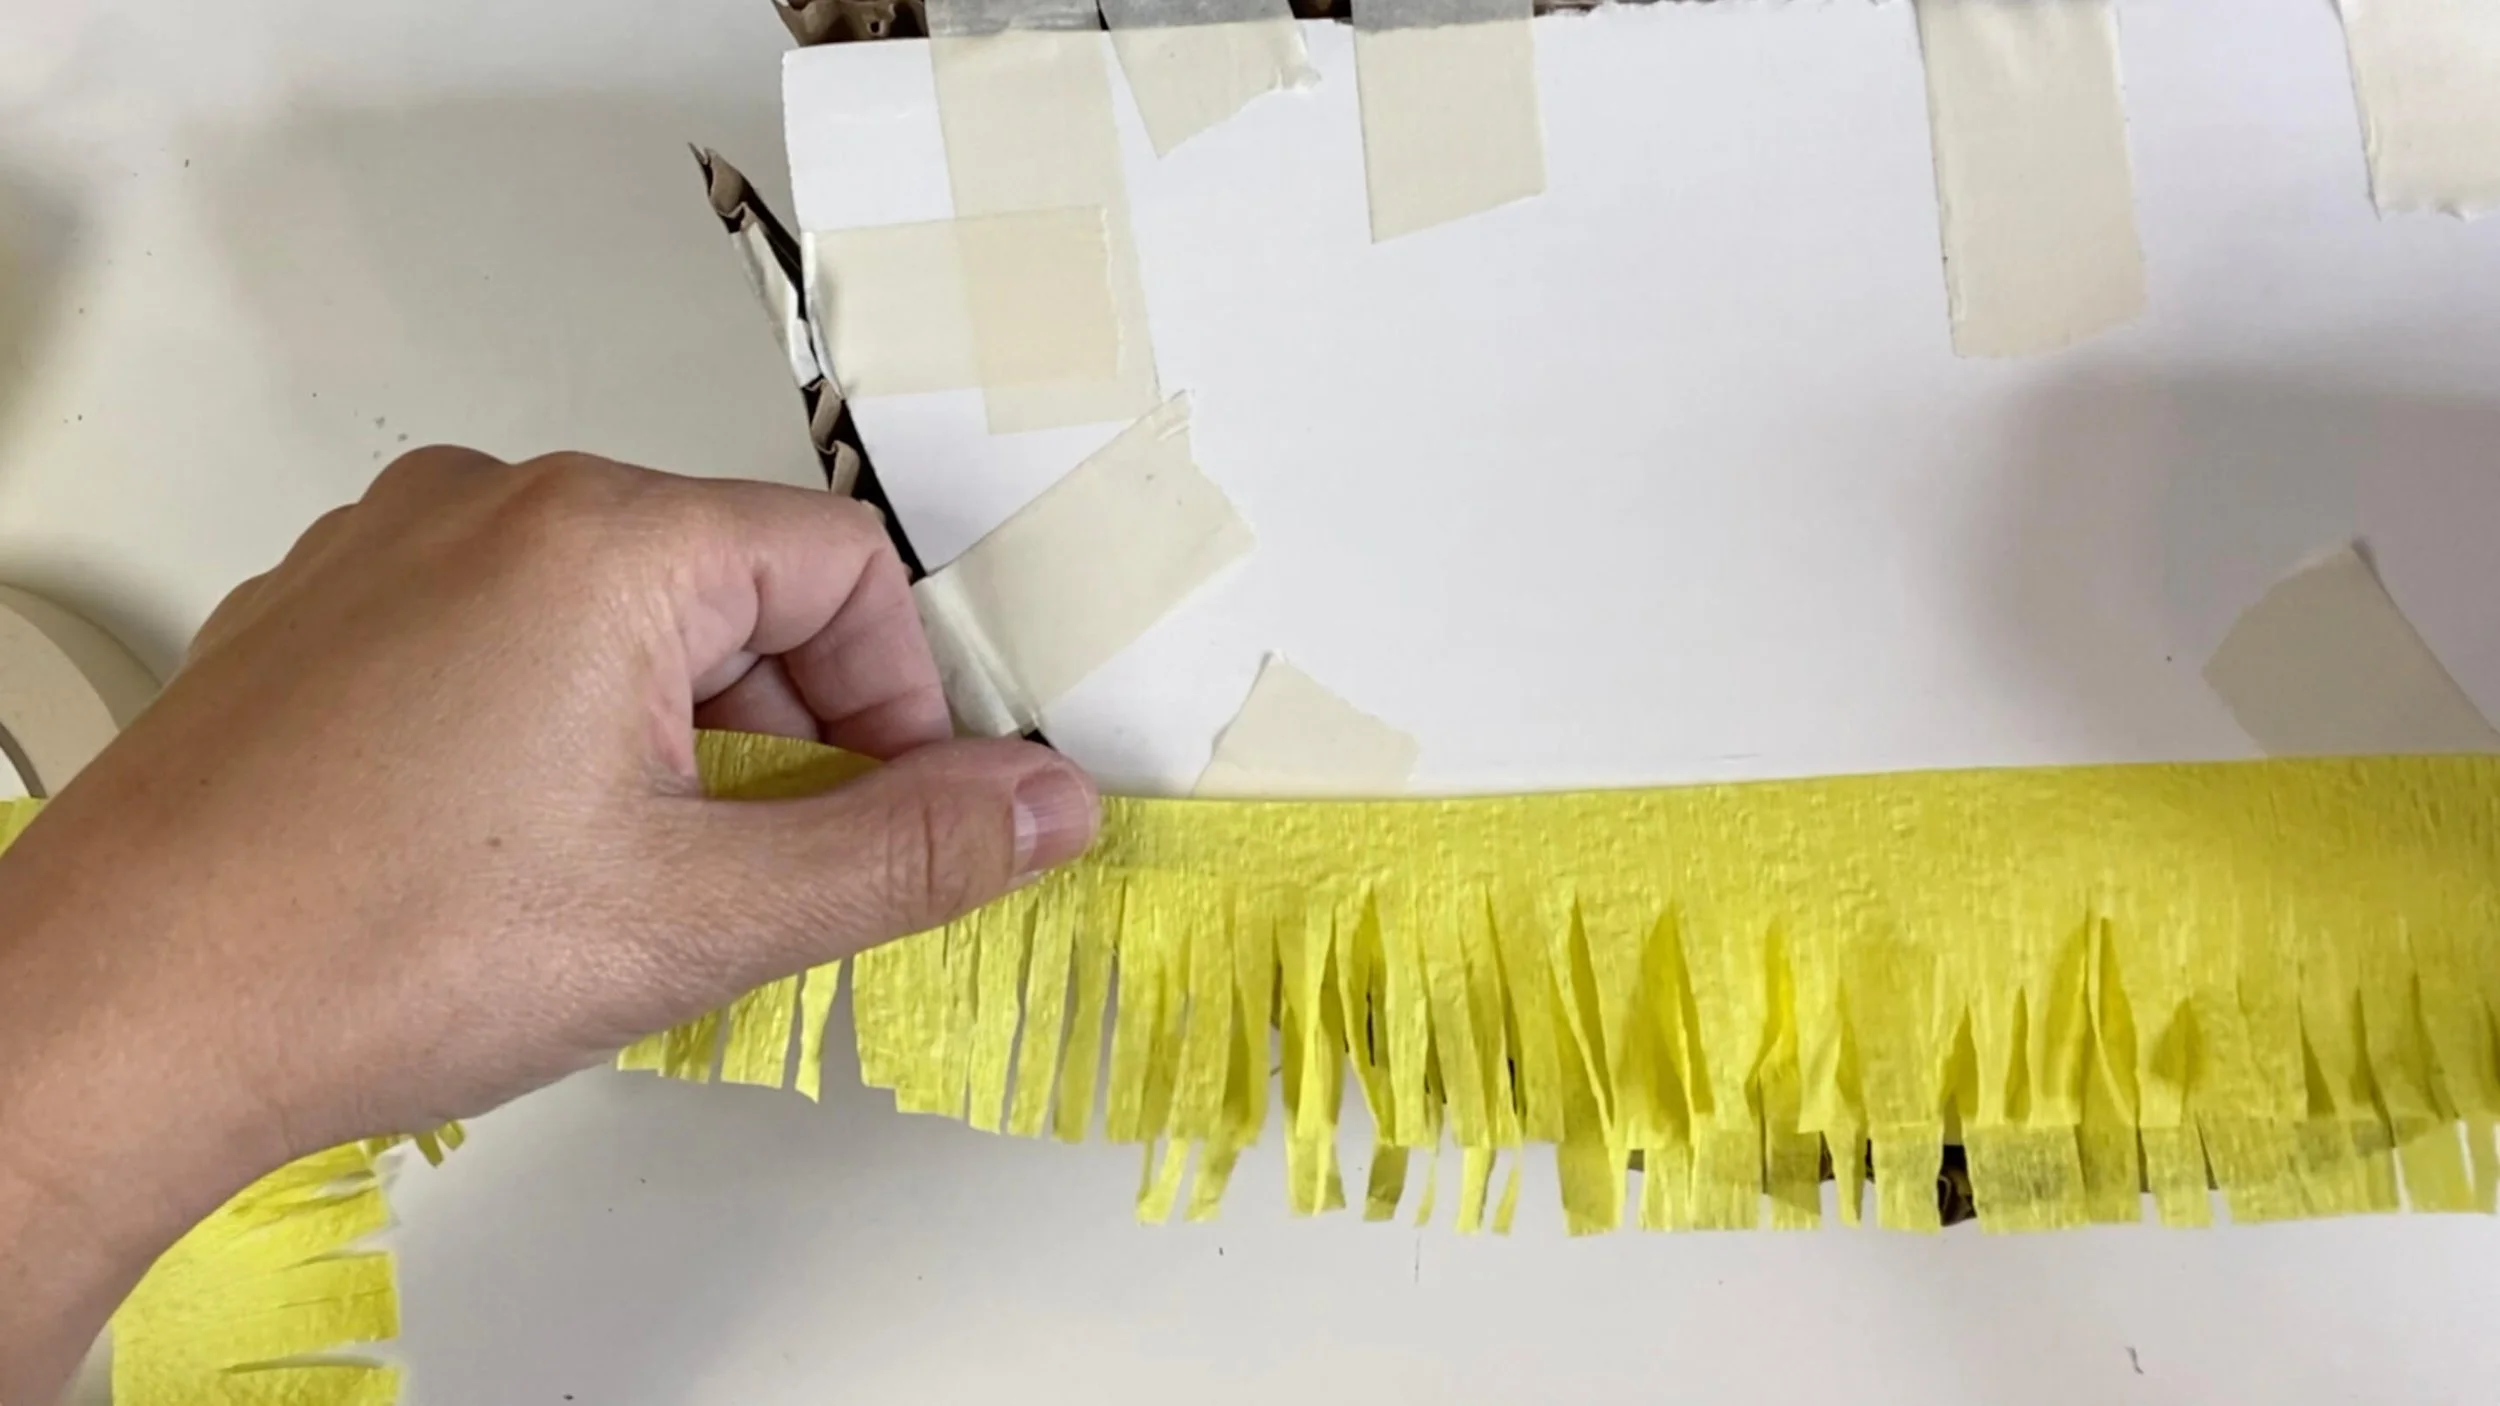
6. Take your glue stick and long strips of yellow crepe paper. Fold at least a foot of crepe paper together so you have several layers. Cut to create a fringe in the yellow crepe paper by cutting halfway. You can cut narrow or wide strips of fringe - it's up to you! Open up the folded and fringed crepe paper gently.

7. Start at the bottom of your taco and add glue using your glue stick on the bottom 2” of the shell. Lay your fringe cut yellow crepe paper across the very bottom of the taco shell.

8. Add the next layer by adding glue stick to the top of the previously applied yellow crepe paper and then place another strip. Keep going and repeat until the side of the piñata is covered.
9. For the final top layer be sure to apply glue on the very top on the corrugated cardboard piece and apply the yellow crepe paper so that you cannot see the cardboard.

10. Repeat steps 6–9 to cover the other side of the piñata with yellow crepe paper.
11. Cover the edges with 2 strips of yellow crepe paper following the same application process.
12. Take the piece of string to hang your piñata and tightly tape onto the top using masking tape.

13. Cover the top with 2 strips of yellow crepe paper. Be sure to cover the tape.
14. Add taco fillings by ripping up some green crepe paper and use your glue stick to spread out around the top of the taco. Be sure to put some (7-8 pieces) near the edges so that it looks like lettuce. Tissue paper would work for this step too!

15. Take brown crepe paper and rip the brown into tiny pieces. Crumple them up tightly so that it looks like taco meat. Use your glue stick to apply the brown crepe paper all around the top of the taco.

16. Rip up some small pieces (4-5 pieces) of red for tomato salsa and use your glue stick to apply those to the top of the taco.

17. Use some extra streamers scraps that are yellow to make some shredded cheese. Rip up some white crepe paper or tissue paper and glue on top to look like sour cream.
18. If you want to give your taco some personality, add some eyes and a mouth. You can use googely eyes, draw them on black and white paper, or print a template and cut it out. This is where you can make your mini taco pinata unique!
19. Cut a small flap in the corrugated cardboard piece if you want to stuff your piñata with small candies. If you do plan on filling it with candy, be sure to close the flap with a piece of tape. If you want your mini taco pinata to have pull strings, tape two pieces of strings on either side of the little door that can pull it open.
20. Enjoy your piñata!

How to Use DIY Pinatas
DIY pinatas are a great way to give out interactive party favors. Next time you throw a fiesta party, give each guest a brown paper bag to fill up with small candies from the piñata instead of handing out a pre-made favor. Hang the piñata in an open area, grab a baseball bat, and take turns whacking the taco until you see the candy rain!
If your mini piñata is just too cute to bust open with a baseball bat, it also makes a fun photo prop or festive table centerpiece.
Did you have fun making this craft? Then you’ll love painting these DIY Paper Mache Doughnuts!