
DIY Dangle Heart Rhinestone Drop Earrings

DIY Dangle Heart Rhinestone Drop Earrings
My niece is turning nine and I decided to make her some sparkly heart earrings for her birthday. Every time I see her, she has a different pair of earrings on and I figured she would love this heart-shaped design.
Since I recently received a Glowforge Aura, I decided to make my cut using the Glowforge. The results? AMAZING!
Here’s what you’ll need to make these heart rhinestone earrings
Glowforge Proofgrade acrylic or Aura safe acrylic
Jump ring
Rubbing alcohol

How to make dangle heart rhinestone earrings (with a laser cutter)
1. Go to the Glowforge app and start a blank design. In the design space, click on the plus sign. Type in the word, “heart.” Double click so that the heart lands on the Glowforge canvas.

Select the heart you like best and double click
2. Go back to the plus sign and add a circle. Drag the circle over the heart and make sure it is as far to the top as possible so that you can add earring wires.

Add a small circle on top of the heart for the hole
3. Click and drag over both shapes to select the entire design and resize to the size of your choice. Make sure they are not too big otherwise they will feel heavy when you wear them.

I went a little smaller than 1 Inch for earrings
4. Select the entire design again and duplicate. Click Command + C on a Mac to copy and Command + V to paste. (Ctrl + C, and Ctrl + V on Windows)

Duplicate the design to make a matching pair of earrings
5. Add the Glowforge Proofgrade material to the canvas. The Aura camera will recognize the acrylic and adjust the settings accordingly.
6. Check your cut settings for each shape. Click “Edit Settings” underneath the shape on the left sidebar and click “Cut” for both.

Make sure to change your settings to “cut” instead of “engrave”
7. Click and drag over both hearts to select both designs together – if you click on just one part, the circle will not stay in the right place. Drag the designs as close to the top or the bottom of the acrylic as possible.
You do not want to cut the design right in the middle because you’ll end up wasting your material.

Position your design to waste as little material as possible
8. Press the “Print” button in the top right corner. Once the machine has calibrated it will give you the go ahead to press the white button on the Glowforge.
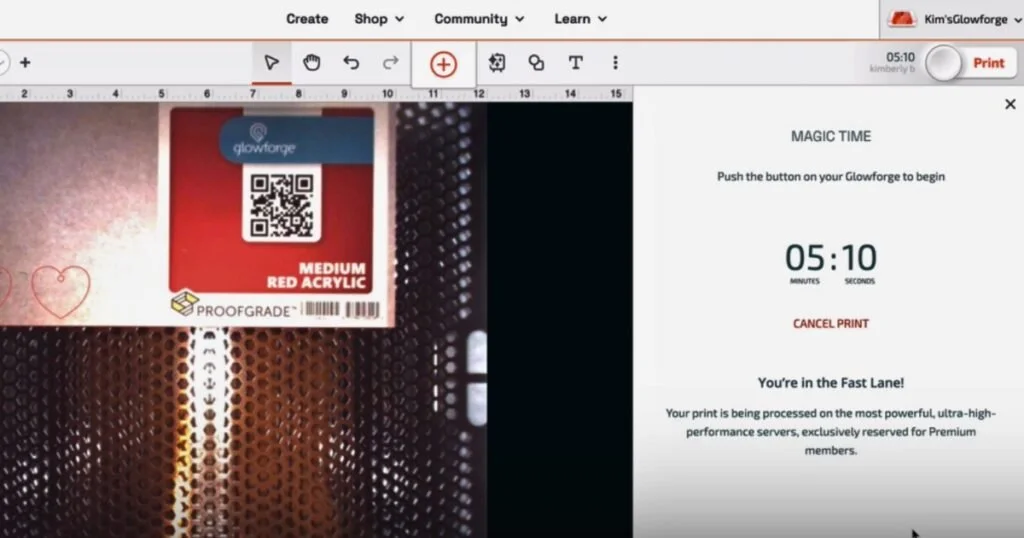
Click “Print” to see how long your project will take
Once the heart is cut and the app says its safe to remove the hearts, open the lid and take them out.
9. Peel off the masking which protected the acrylic and clean with an alcohol swab.
10. Add small amounts of glue to the surface of the heart.
11. Using your wax pencil, apply rhinestones using the scatter method. Try to keep the rhinestones as close together as possible.
Not sure how to apply rhinestones by hand? Check out my digital course on How to Hand-Place Rhinestones Like a Pro!
12. Let dry for at least 24 hours.
13. Using pliers or your hands, open up the jump ring. Add both the ear wires and the rhinestone heart.

Open the jump ring and add the earring wire and heart
14. Close the jump ring using pliers.

Close the jump ring using pliers
Enjoy your new rhinestone heart fashion jewelry!
Still need help using your Glowforge Aura? Check out this step by step tutorial and video.

Beautiful DIY Dangle Rhinestone Heart Earrings
How to make dangle heart rhinestone earrings (without a laser cutter)
If you do not have access to a laser cutter, do not worry! Around the time of Valentine’s Day, you can find hearts everywhere! If you can’t find any small hearts, cut hearts using cardboard and make sure to add a hole for the jump ring. Then, follow the above instructions beginning onstep 8.
Instead of a pair of boring single colored earrings, you now have a pair of silver-tone earrings with both hearts and rhinestones. How fun is that?
I love working with faux rhinestone embellishments because they’re perfect or special occasions but will not break the bank! If you are just not a heart person, perhaps try making an emerald-shaped gem instead?
I promise these will be a pretty addition to your accessory drawer. And remember, when you make things on your own, you do not have to deal with sorting through sale items, crazy crowded stores or hoping for free shipping. When you DIY, its always more special!
Looking for more rhinestone projects? Check out these posts!